Settings
Clicking the Project View Button and selecting Settings will take you to a list of your project's settings.
GB Color Options
GB Studio has support for GB Color when your game is run on compatible hardware or emulators. Click the Enable Color Mode checkbox to enable.
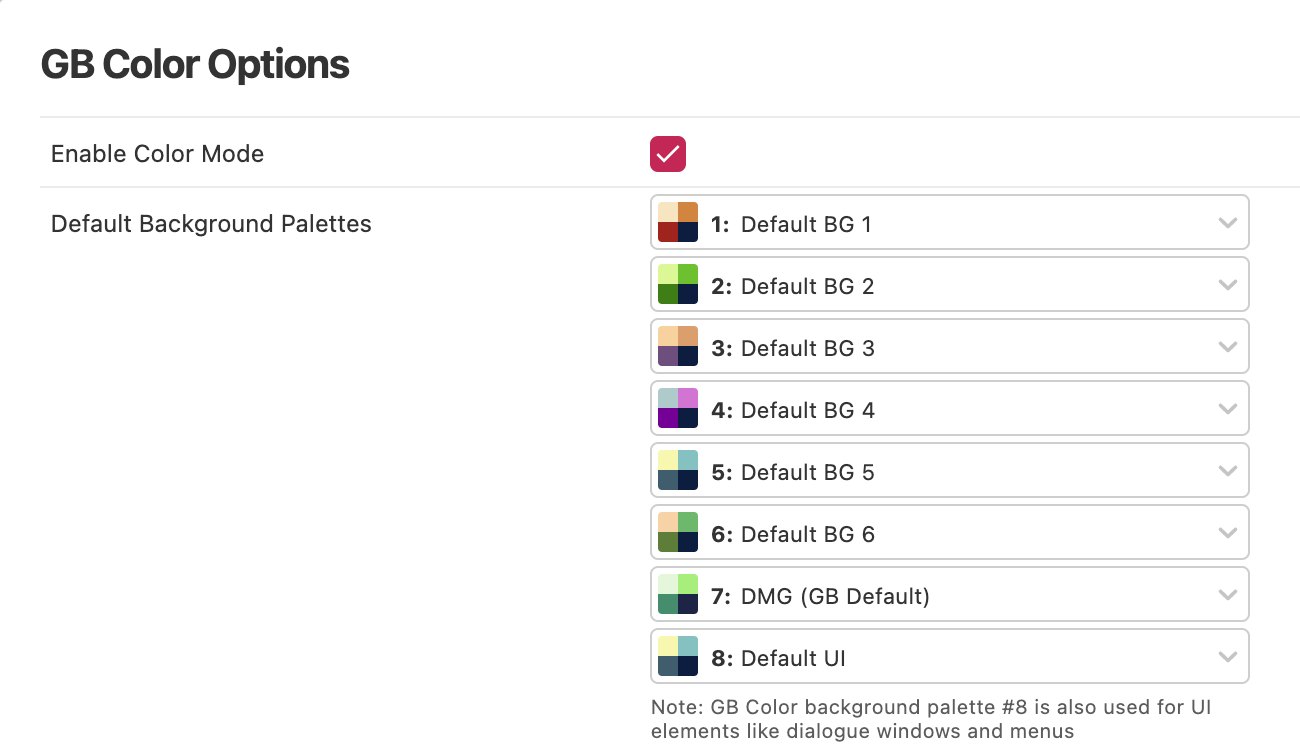
Once color mode is enabled you can select up to 8 Default Background Palettes and 8 Default Sprite Palettes, these are the palettes that every new scene in your game will use unless you specifically override them. See Colorizing a Scene for how to use background palettes.
Super GB Options
To enable support for Super GB click the Enable Super GB Mode checkbox.
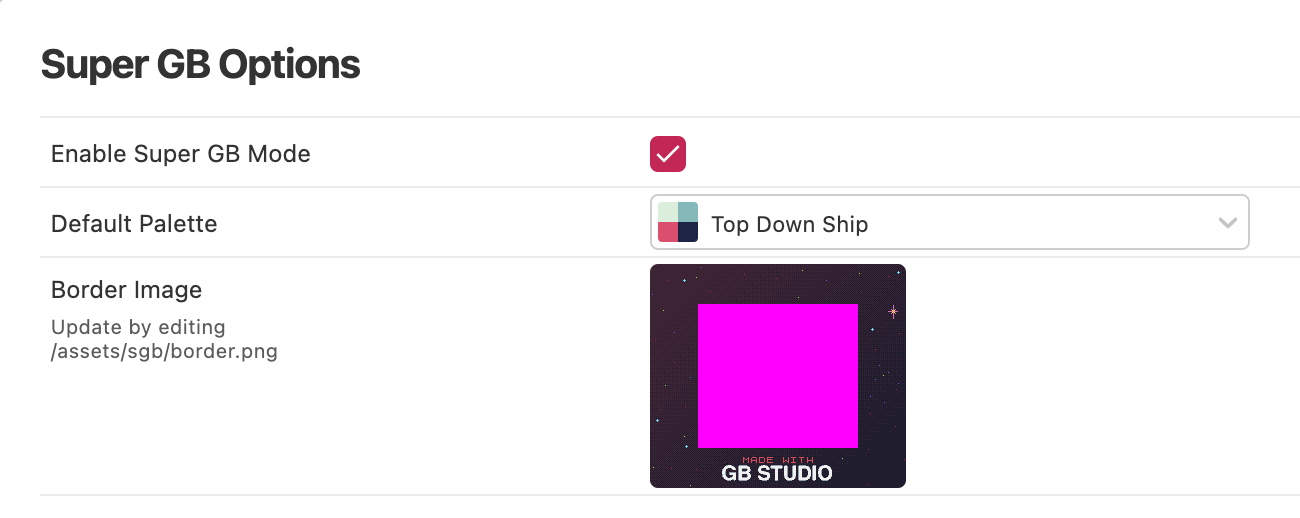
This mode will allow you to set a custom 256px × 224px border image and color palette to use when your game is run on compatible hardware or emulators.
The first time you build your game after enabling this mode a default border image will be copied to your project in assets/sgb/border.png, edit this image to replace the border with your own.
Default Player Sprites
Each Scene Type can have a different player sprite sheet, use this section to replace the default spritesheet that will be used for each type. You can override the sprite sheet used for individual scenes by editing the scene's properties or by using scripts, see The Player.
UI Elements & Fonts
Use this section to view the frame image used for dialogue windows in your game, the cursor image used in menus and to select the default font for your project. Clicking the cursor or frame image will open them in your selected image editor, alternatively you can find the files in your project's assets/ui folder.
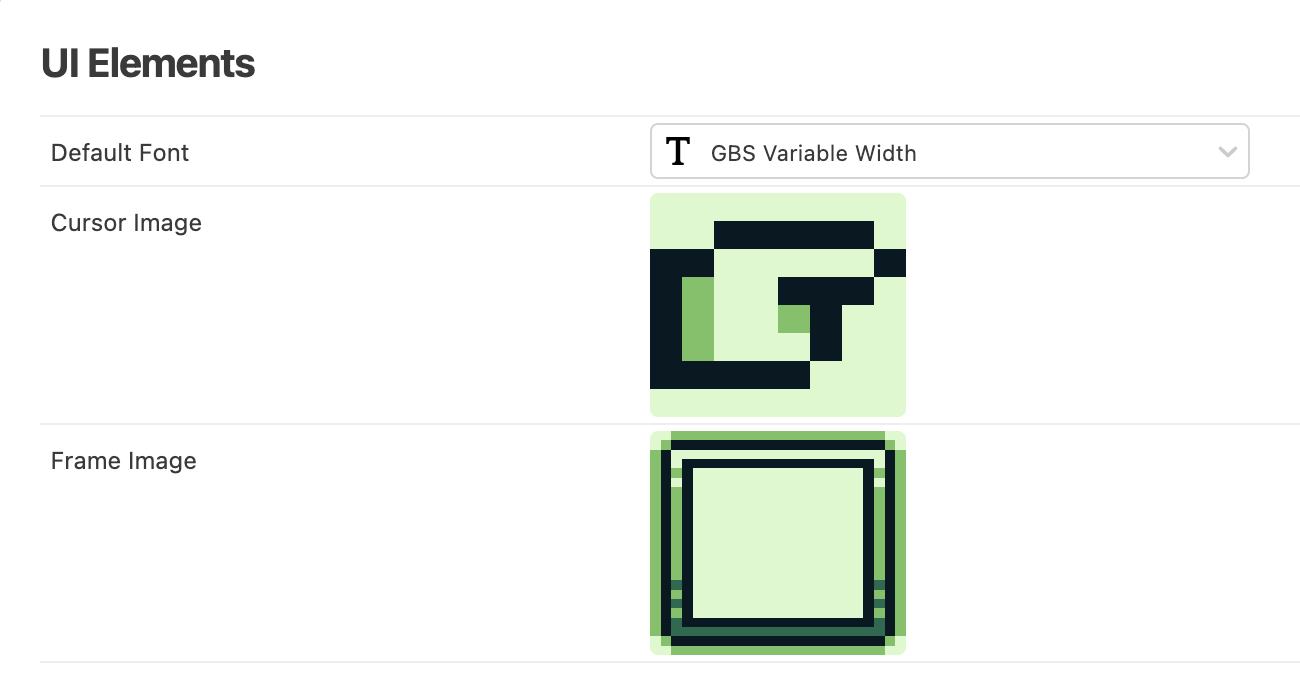
Fonts can be found in assets/fonts and consist of a .png image and .json definition file.
You can create variable width fonts (with characters less than 8px wide) by filling the right edge of your font's characters with magenta #ff00ff like the example below.
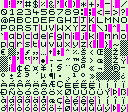
By default fonts use an ASCII mapping with character code 32 (Space) mapping to the top left character in your font. You can provide a custom mapping by editing your font's .json file as follows.
{
  "name": "Japanese Font",
  "mapping": {
    "ヲ": 166,
    "ァ": 167,
    "ィ": 168
  }
}
In this example using a ヲ character will now display character 166 from your .png.
Please note that as the first 32 ASCII characters are not included in your image you need to account for this in your mapping, for example if you wanted to map the character ? to the second tile in your .png you would set the mapping to be "?": 33
Music Format
The music format chooses which music engine to use in your game, this in turn determines the format of the music files supported in your project.
The recommended setting is UGE (hUGEDriver) (.uge files), as this enables you to use the inbuilt music editor, though if you have created a project in GB Studio 2.0 or below you will need to keep this setting as MOD (GBT Player) (.mod files) to maintain compatibility with your existing music files.

See Music for more information.
Engine Settings
The GB Studio game engine has a number of custom settings split by scene type that you can change to adjust the feel of your game, for example to reduce the gravity in Platformer scenes or to make Top Down 2D scenes use a 16px grid.
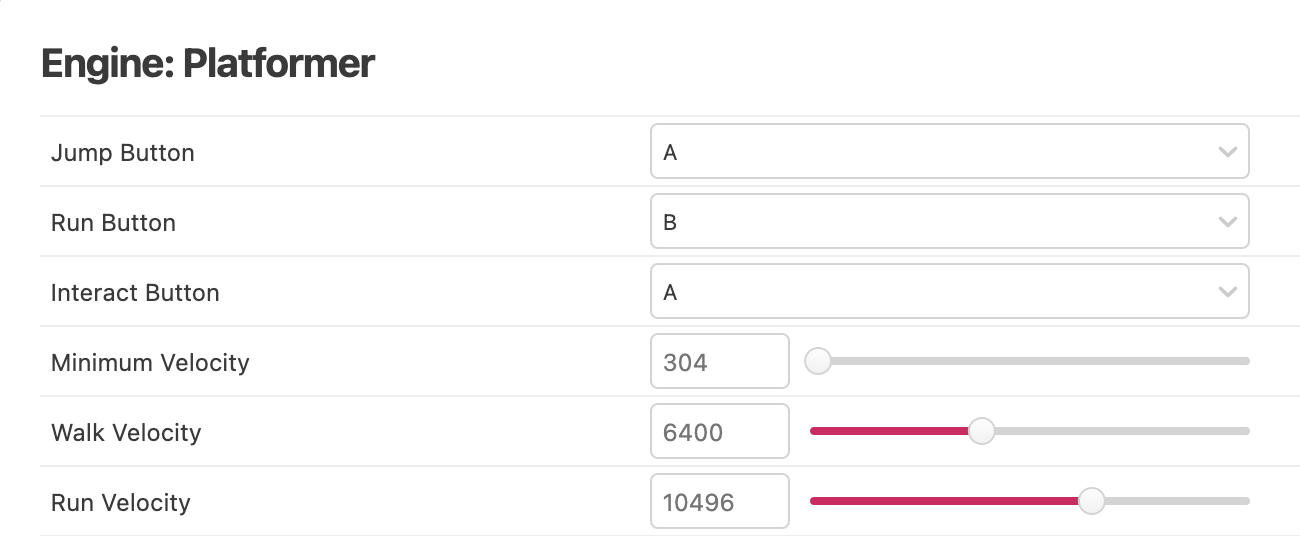
To reset to the original values you can use the Restore Default button.
Controls
The Controls section allows you to override the default controls used when playing your game from a web build and the Play Window.
To edit the controls for a button click on the input box and while the input is highlighted type the key you wish to assign. To remove all the assigned keys click the input and then press the Backspace key on your keyboard.
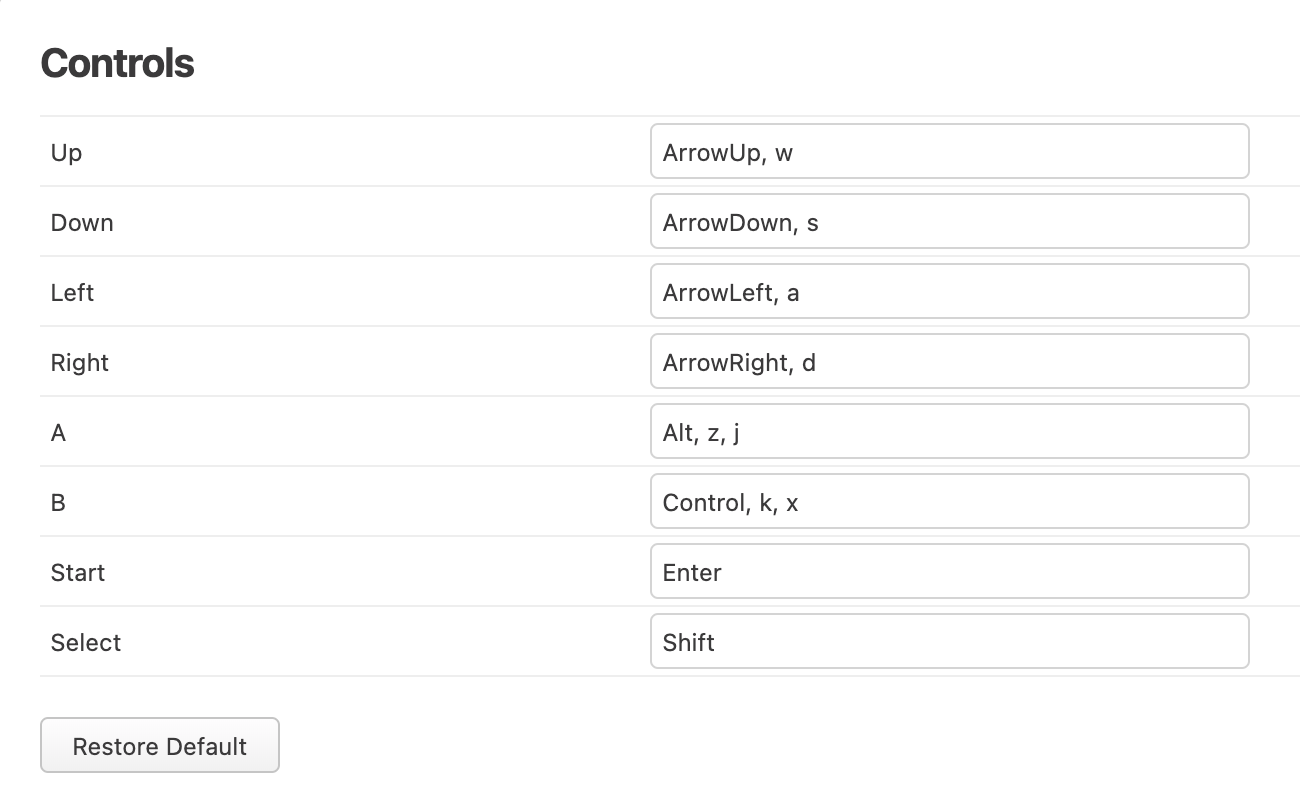
To reset to the original controls you can use the Restore Default button.
Cartridge Type
The Cartridge Type section allows you to choose which Memory Bank Controller you want to use and if you want to enable Batteryless Saving for compatible Flash Carts.
If you don't know what these settings mean it's best to keep this as the default of MBC5, with Batteryless disabled which you can do by using the Restore Default button.
Custom HTML Header
You can use the Custom HTML Header section to add content to the HTML <head> when generating a web build of your game. You can use this to add any custom CSS or Javascript you want to the web build HTML page.